How to make perfect round cake pops?

Crafting the perfect round cake pop is an art form that combines baking prowess with a touch of creative flair. These delightful treats, adored for their bite-sized convenience and customizable nature, can elevate any gathering or satisfy a sweet craving with style. In this comprehensive guide, we’ll embark on a journey through the essential steps to achieve those flawlessly round cake pops, from the foundational cake base to the final decorative touches. Whether you’re a seasoned baker or a novice in the kitchen, these tips and tricks will empower you to create cake pops that are not only visually appealing but also irresistibly tasty.

cake pop recipe

Getting Started with Cake Pops

Before diving into the world of cake pop crafting, it’s crucial to understand the basics and gather the necessary tools and ingredients. This foundation will set you up for success, ensuring your cake pops are as perfect in taste as they are in appearance.

Understanding Cake Pops

At their core, cake pops are a delightful fusion of cake and frosting, coated in a chocolate or candy shell. Achieving the perfect round shape starts with the right consistency of the cake-frosting mixture, which should be moist enough to hold together yet firm enough to maintain shape.

Essential Tools and Ingredients

  • Cake: Choose your favorite flavor. Whether it’s a homemade sponge or a convenient boxed mix, the cake should be moist and crumbly.
  • Frosting: A binding agent for the cake crumbs, frosting helps achieve the desired texture. Buttercream, cream cheese, or ganache are popular choices.
  • Coatings: Melted chocolate or candy melts in various colors offer a smooth finish and a touch of sweetness.
  • Decorations: Sprinkles, crushed nuts, or fondant shapes can add a personalized touch to your cake pops.
  • Tools: Cake pop sticks, a scoop or spoon for portioning, and a styrofoam block for drying are essential for the process.

With these basics in hand, you’re ready to embark on the cake pop-making adventure. Stay tuned for the next part, where we’ll delve into creating the perfect cake base for your pops.

Crafting the Perfect Cake Base

cake pop recipe

Creating a flawless cake base is the first step in your cake pop journey. This stage is all about getting the right texture and flavor that will set the foundation for your perfect round cake pops.

Baking or Choosing Your Cake

First off, you need a cake. You can either bake one from scratch or opt for a boxed mix. If you’re baking, ensure it’s moist and fluffy. For those using a mix, follow the instructions to the letter. Remember, the cake’s flavor will be the heart of your cake pops, so pick one you love.

Achieving the Ideal Texture

Once your cake has cooled, it’s time to crumble it up. Use your hands or a food processor to get fine, even crumbs. Next, mix in your frosting. Start with a small amount and add more as needed. The goal here is a mixture that holds together well but isn’t too sticky. It should be easy to shape but not soggy.

With your cake base ready, you’re well on your way to making those perfect round cake pops. In the next part, we’ll dive into shaping and cooling your cake pops to ensure they keep their form and are ready for dipping and decorating.

Shaping and Cooling Your Cake Pops

cake pop recipe

Now that you have your cake base prepared, it’s time to shape those cake pops. This step is crucial for achieving that perfect roundness we’re aiming for. Additionally, proper cooling is essential to ensure they hold their shape during the coating process.

Rolling Your Cake Pops

To begin, scoop out even portions of the cake mixture using a small ice cream scoop or spoon. This ensures uniform size among all your cake pops. Then, gently roll each portion between your palms to form smooth, round balls. If the mixture sticks to your hands, a little dusting of powdered sugar or cocoa powder (depending on the cake flavor) can work wonders.

Chilling for Stability

Once you’ve rolled your cake pops, they need to chill. Place them on a baking sheet lined with parchment paper and pop them into the fridge. A short chill of about 20 minutes should suffice. However, if you’re not in a rush, letting them sit a bit longer can make the dipping process even smoother.

With your cake pops shaped and chilled, they’re almost ready for their chocolate bath. Next up, we’ll explore the art of coating and decorating your cake pops, turning them from simple balls of cake into delightful treats that are as beautiful as they are delicious.

Coating and Decorating Your Cake Pops

After shaping and chilling your cake pops, it’s time for the most exciting part: coating and decorating them. This step not only adds flavor and texture but also brings your cake pops to life with color and creativity.

Mastering the Dip

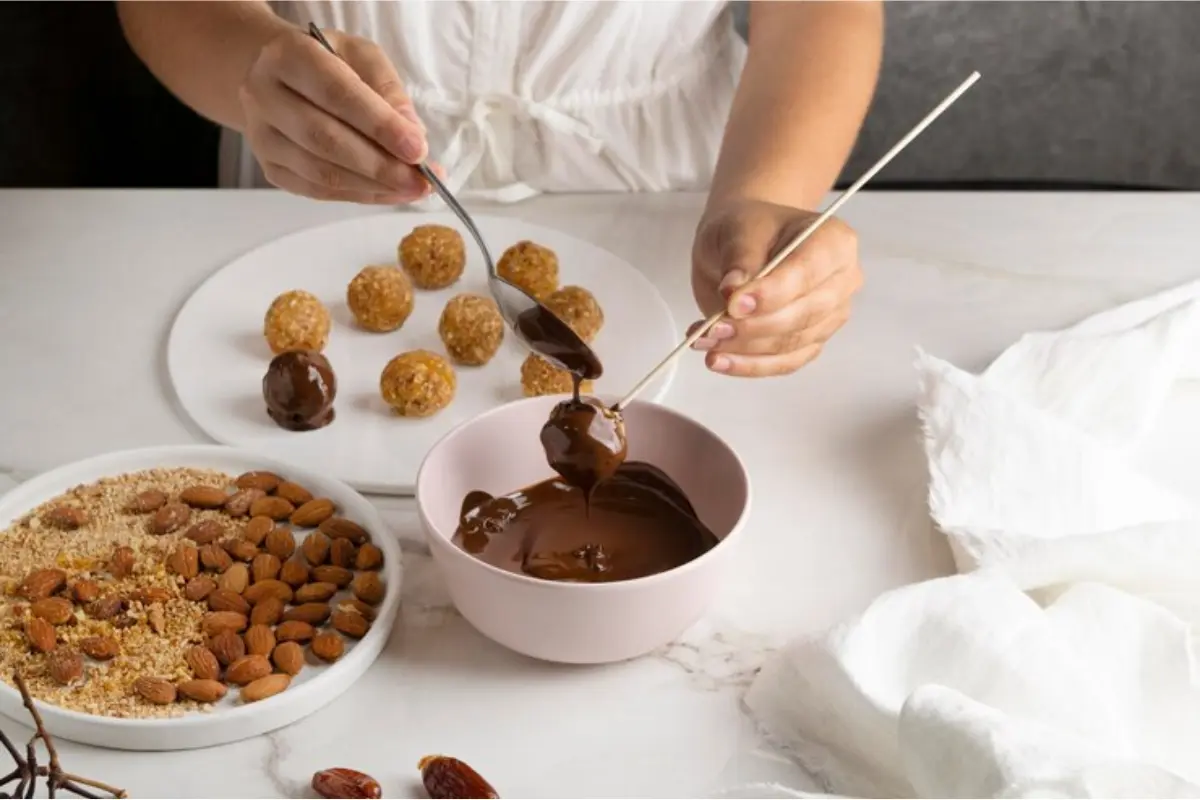
Firstly, melt your chosen chocolate or candy melts in a deep, narrow cup. This setup makes it easier to dip and fully coat each cake pop. Then, one by one, dip your chilled cake pops into the melted coating. Ensure each pop is completely submerged, then gently tap off any excess. This technique helps achieve a smooth, even layer without any drips.

Unleashing Your Creativity

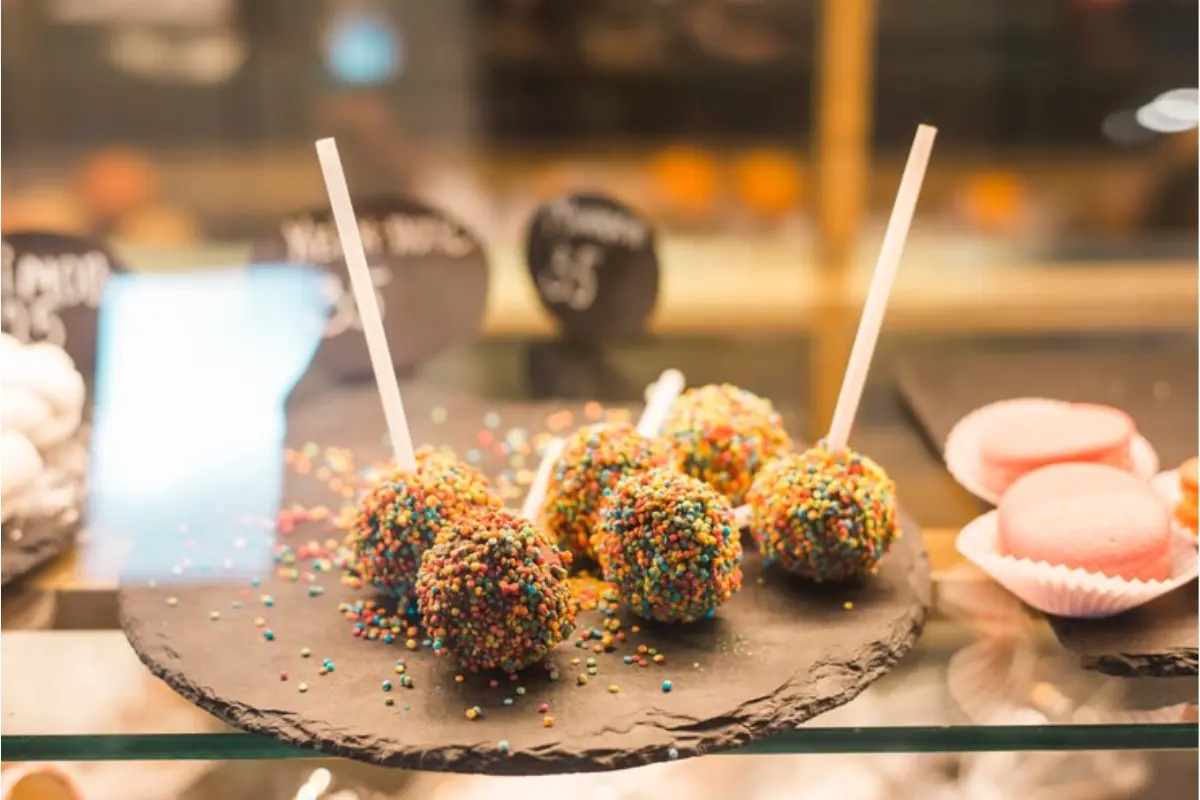
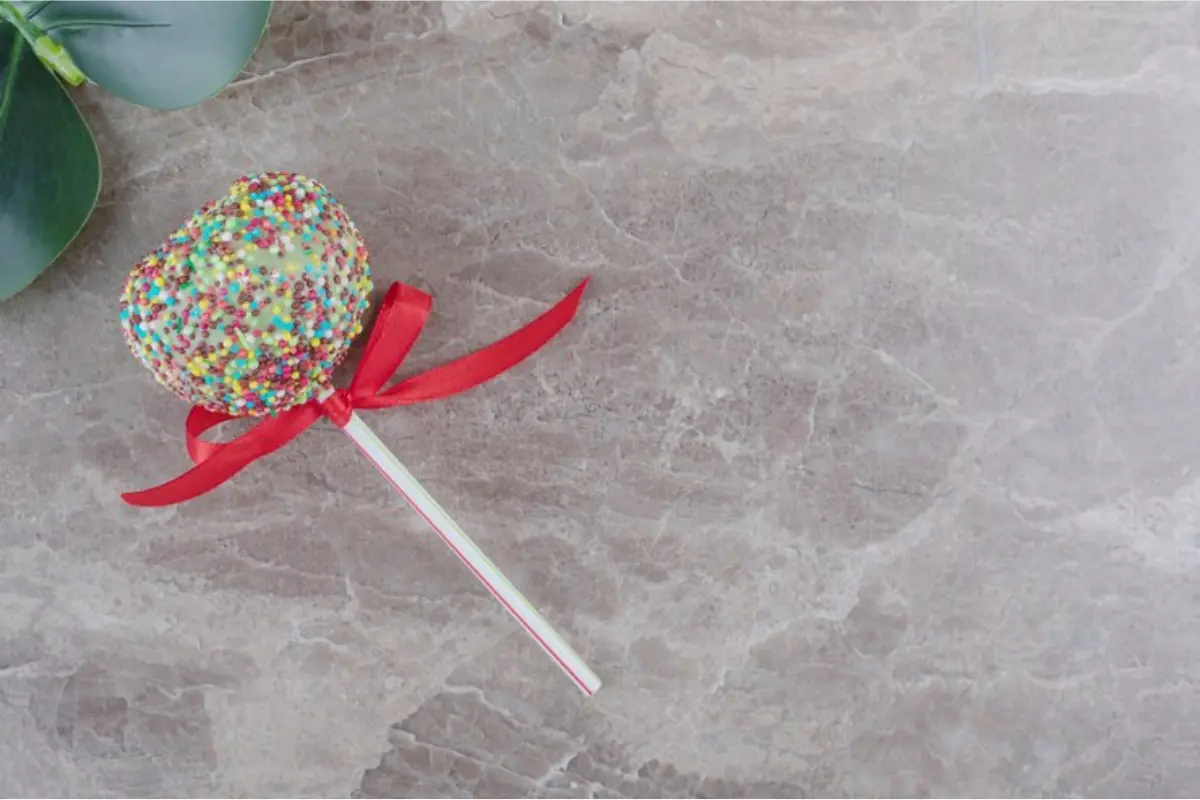
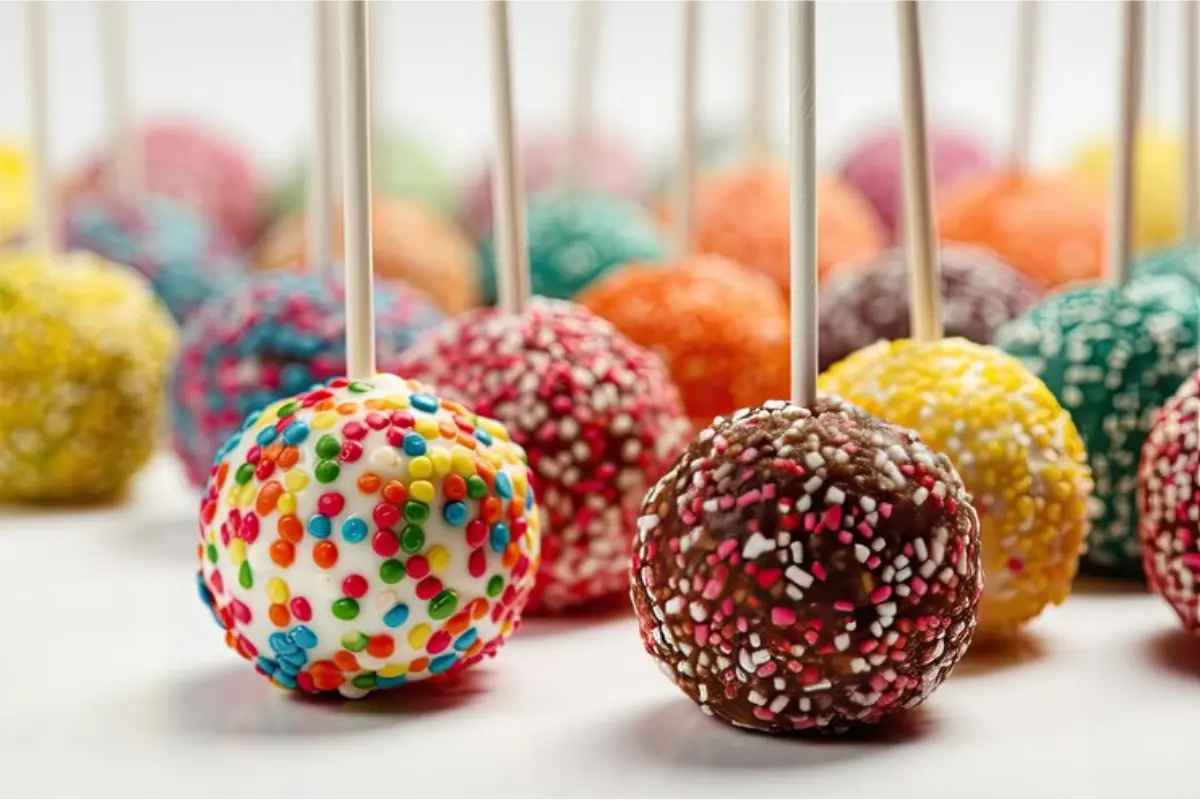
Now, while the coating is still wet, it’s time to decorate. Sprinkle on some colorful sprinkles, add a drizzle of a contrasting chocolate, or place a fondant flower on top. The possibilities are endless, so let your imagination run wild. Remember, the decorations not only add visual appeal but can also complement the flavor of your cake pops.

With your cake pops beautifully coated and decorated, they’re almost ready to be enjoyed. However, before we get to the tasting, let’s dive into some advanced tips and tricks in the next part to ensure your cake pops are nothing short of perfect.

Advanced Techniques for Perfect Cake Pops

cake pop recipe

Before we wrap up, let’s delve into some advanced techniques that can elevate your cake pop game. These tips will help you tackle any challenges and add a professional touch to your creations.

Ensuring Even Coating

Achieving an even coating can be tricky, but with a few tricks, you can master this skill. Consider using a toothpick or a special cake pop dipping tool to hold the cake pop while dipping. This can give you more control, allowing for a smoother finish. Also, tapping the stick gently against the edge of your melting pot can help remove excess coating, preventing any unwanted buildup.

Flavor Infusions

To make your cake pops stand out, consider infusing the cake or the coating with unique flavors. Adding citrus zest, espresso powder, or even a splash of extract can transform the taste profile of your cake pops, making them unforgettable. Just be sure to balance the flavors so that one doesn’t overpower the others.

With these advanced techniques in your baking arsenal, your cake pops will not only look perfect but will also taste divine. In the next part, we’ll address some frequently asked questions to help clarify any remaining doubts and ensure your cake pop making process is as smooth as possible.

Presentation and Serving Ideas

Before we dive into the FAQs, let’s explore some creative ways to present and serve your cake pops. After all, part of the fun of cake pops is showcasing them in an enticing and visually appealing manner.

Creative Display Options

Think beyond the traditional serving platter. Consider arranging your cake pops in a bouquet for a festive centerpiece, or use a decorated Styrofoam block to stand them upright. For themed parties, matching the display to the theme can add an extra layer of excitement.

Pairing with Other Treats

Cake pops pair wonderfully with other desserts for a varied treat table. Consider serving them alongside mini cupcakes, macarons, or a fruit platter. The contrast in flavors and textures will delight your guests and make your spread more inviting.

With these presentation and serving ideas, your cake pops will not only taste fantastic but will also become a conversation starter at any gathering. Now, let’s move on to the FAQs to address any remaining questions you might have about making perfect round cake pops.

FAQs

As we wrap up our comprehensive guide on creating perfect round cake pops, you might still have some lingering questions. Let’s tackle some frequently asked questions to ensure you feel confident and ready to make these delightful treats.

How Do I Ensure My Cake Pops Don’t Fall Off the Stick?

To prevent cake pops from falling off the stick, dip the stick in a little melted coating before inserting it into the cake ball. This acts like glue, securing the cake pop in place. Also, avoid making the cake balls too heavy by keeping them to a manageable size.

What Can I Do If My Cake Pop Mixture Is Too Crumbly?

If your mixture is too crumbly, it likely needs more frosting to bind it together. Add frosting a little at a time, mixing thoroughly until the mixture can hold its shape when rolled into a ball.

Can I Use White Chocolate Instead of Candy Melts for the Coating?

Yes, you can use white chocolate as a coating. However, it’s a bit thicker than candy melts, so you might need to thin it with a bit of coconut oil or shortening to achieve a smooth, dip-able consistency.

How Far in Advance Can I Make Cake Pops?

Cake pops can be made several days in advance. Once fully assembled and decorated, store them in an airtight container in the fridge. Let them come to room temperature before serving for the best taste and texture.

With these FAQs addressed, you’re now fully equipped to embark on your cake pop-making adventure. Remember, practice makes perfect, and each batch is an opportunity to refine your skills and experiment with new flavors and decorations. Enjoy the process and the delicious results!

Conclusion

Embarking on the journey of creating perfect round cake pops is an adventure into creative baking. This guide has taken us through the meticulous process of crafting these delightful treats, emphasizing the importance of balance, precision, and creativity at every step. From achieving the right dough consistency to the art of decoration, cake pop making is a testament to the detailed nature of baking, where each element plays a crucial role in the final outcome.

The boundless opportunity for creativity is what makes cake pops so exhilarating. They invite you to experiment with flavors, colors, and textures, turning each batch into a unique expression of culinary imagination. The final presentation enhances their appeal, transforming gatherings into celebrations of taste and artistry.

We’ve tackled common challenges, offering solutions to ensure success for both novice and experienced bakers. The FAQs section serves as a quick reference to smooth the path of cake pop making, reinforcing the idea that with knowledge and practice, anyone can master this art.

In conclusion, the world of cake pops is one of endless possibilities, where the joy of baking meets artistic creation. Each batch is an opportunity to learn, grow, and spread happiness. Cake pops are not just treats; they’re a testament to the magic that happens when creativity and culinary skill unite. So, embrace the adventure, and let your cake pops be a source of joy and inspiration.
Leave a Comment